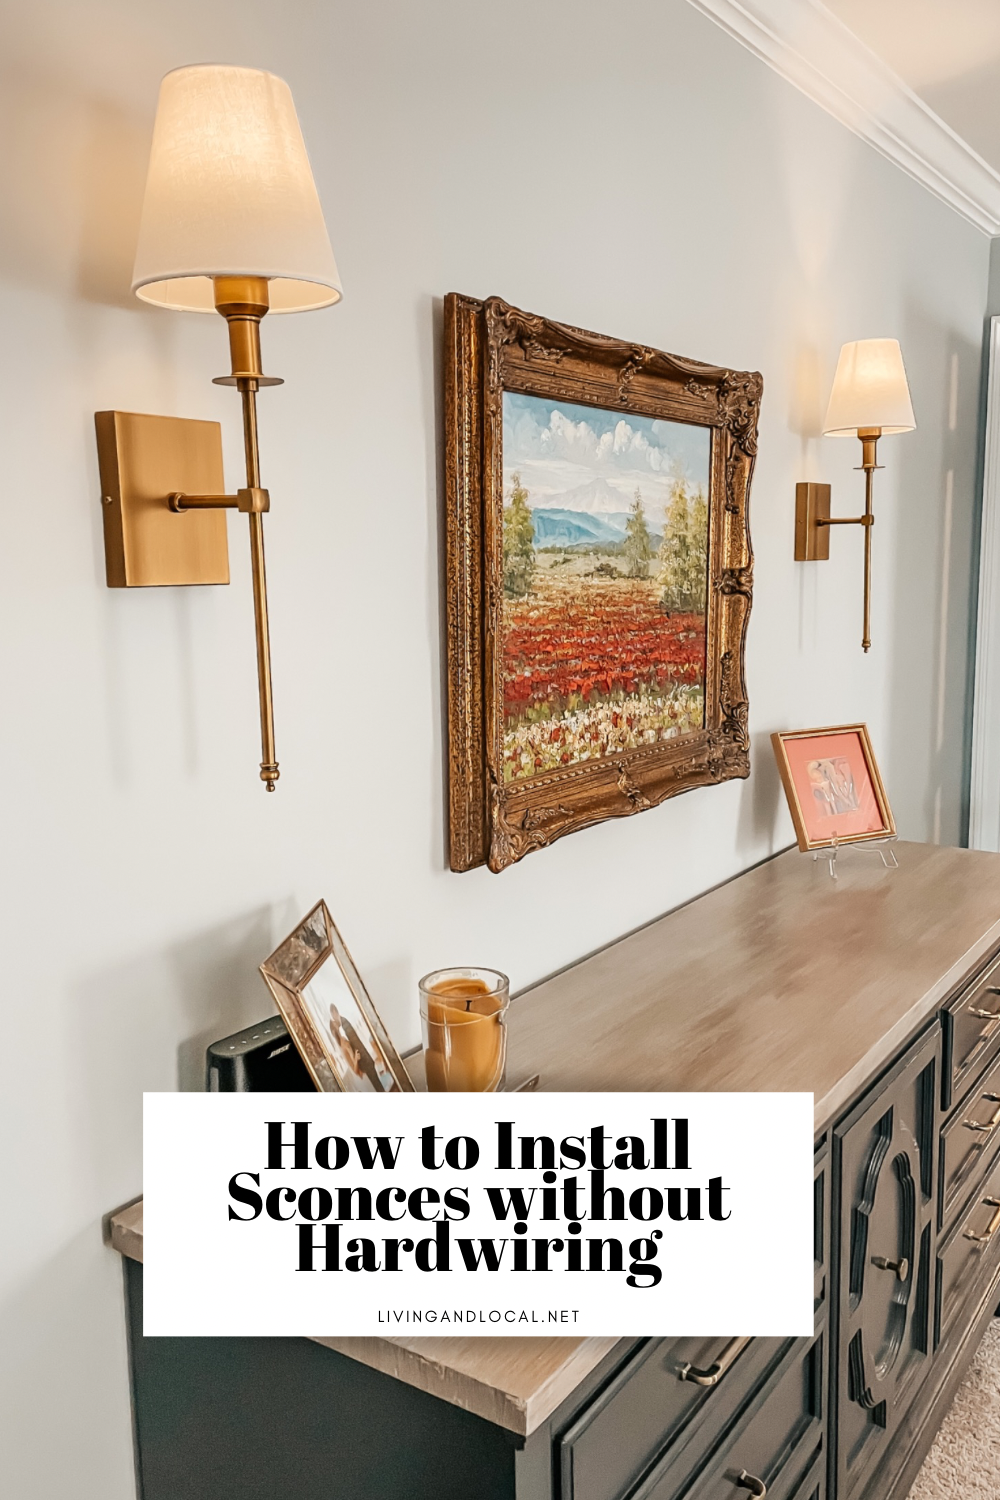
How to Install Sconces Without Hardwiring (for the non-handy folks)

Installing light fixtures can be intimidating and a tad scary (shock factor, no THANK you). However, adding lighting can elevate your space, enhance the ambiance and add personality to your home. George and I finally decided to cross a home improvement project off of our list, opting to install sconces in our master bedroom.
George and I are home-improvement novices, so the idea of figuring out how to hardwire a sconce to the wall and drill into our pristine drywall made us both feel faint. So, we decided to install sconces WITHOUT hardwiring. We had put off this task for a while, thinking it would be a rather time-intensive project. It ended up taking us 20-30 minutes. We were shocked.
YOU CAN DO IT, TOO!
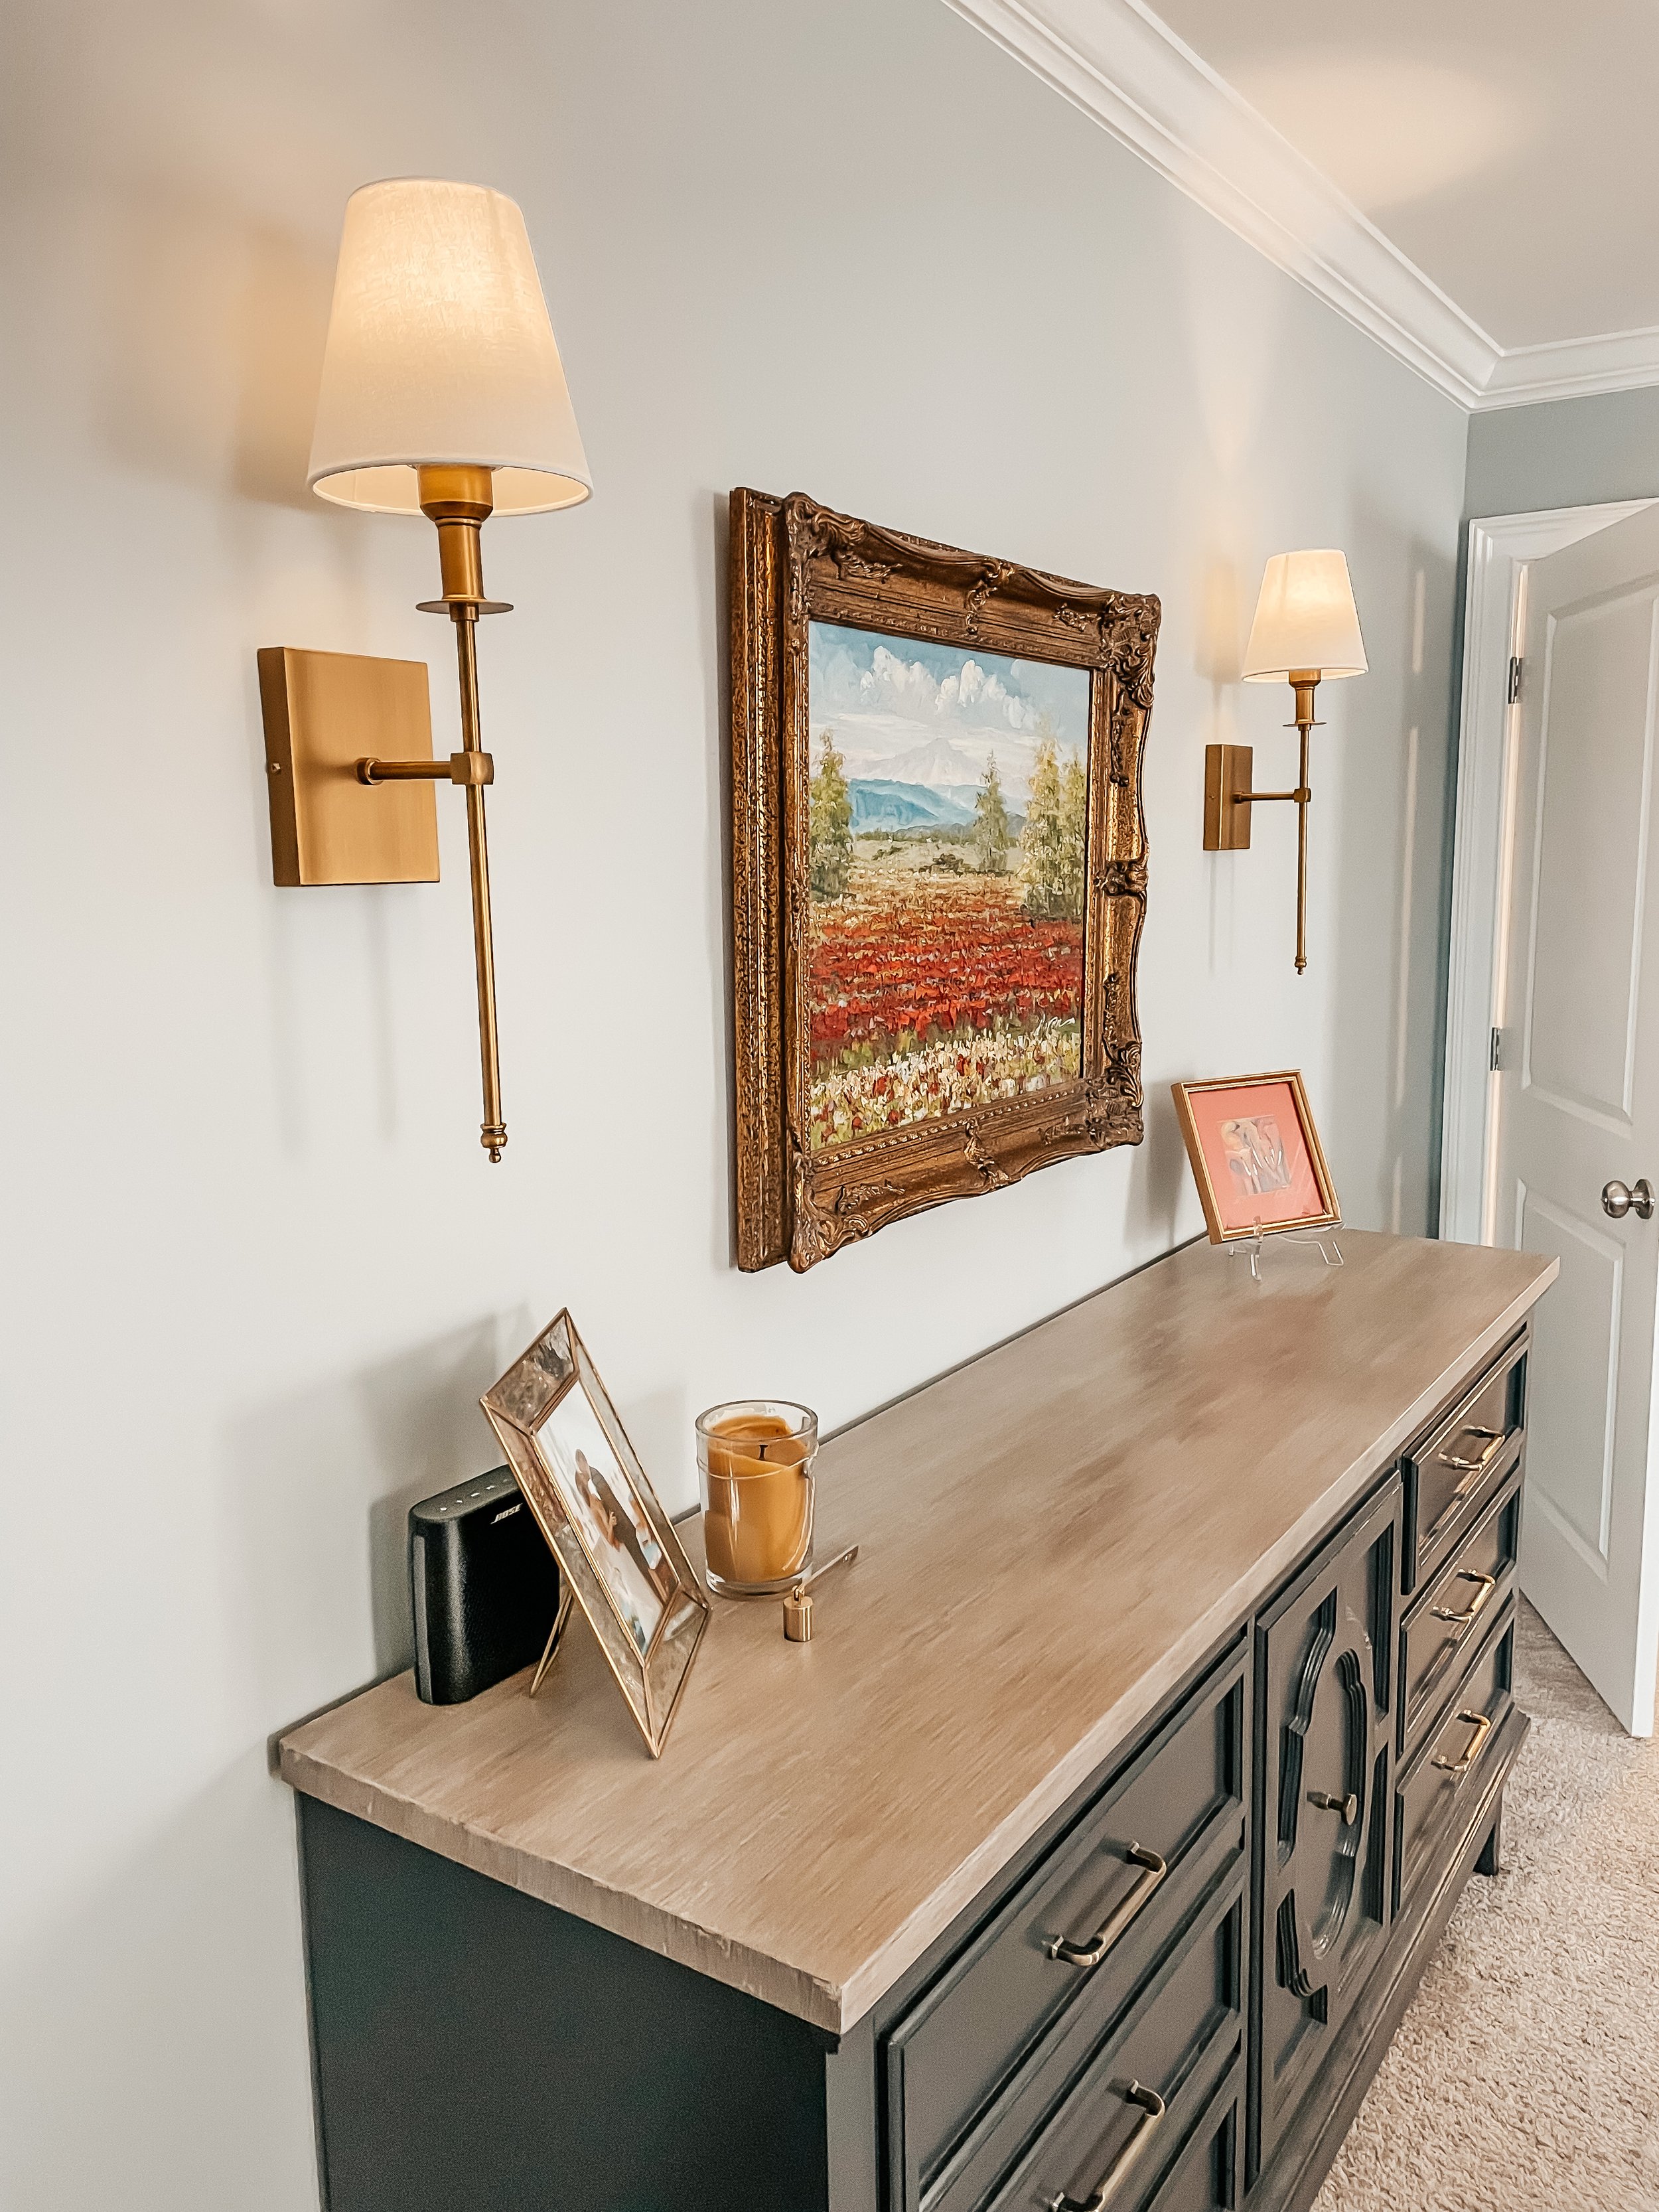
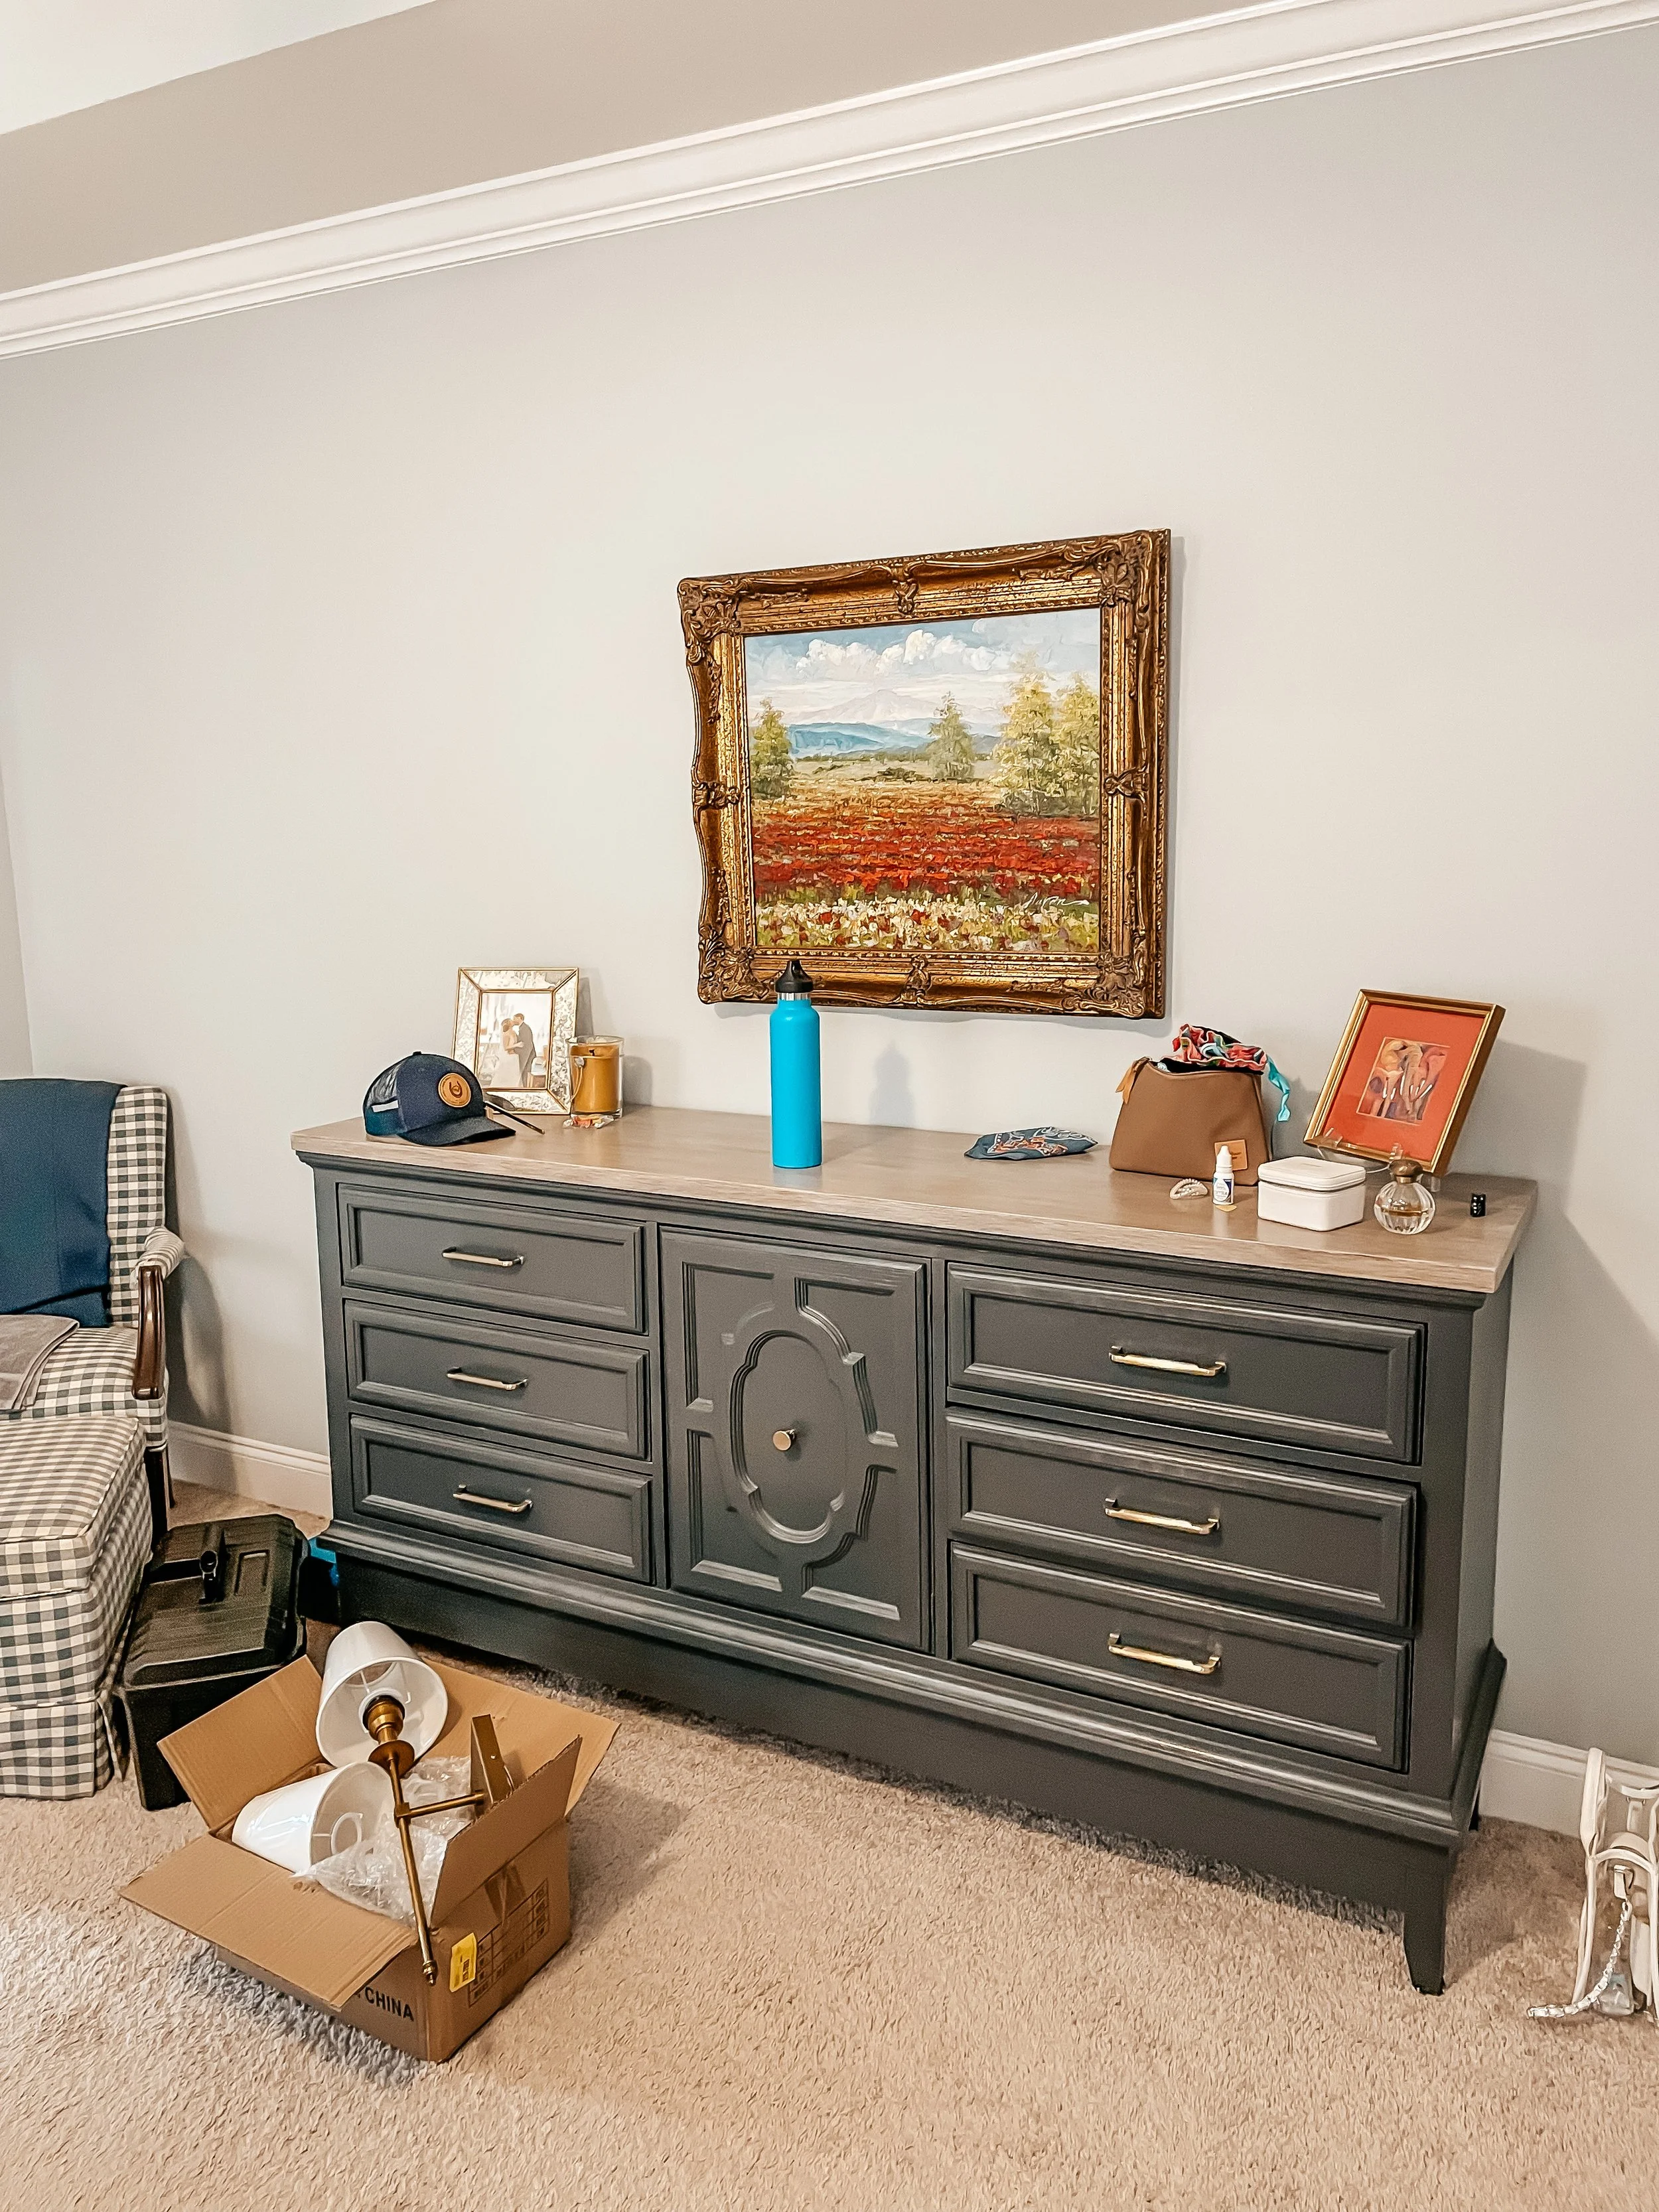
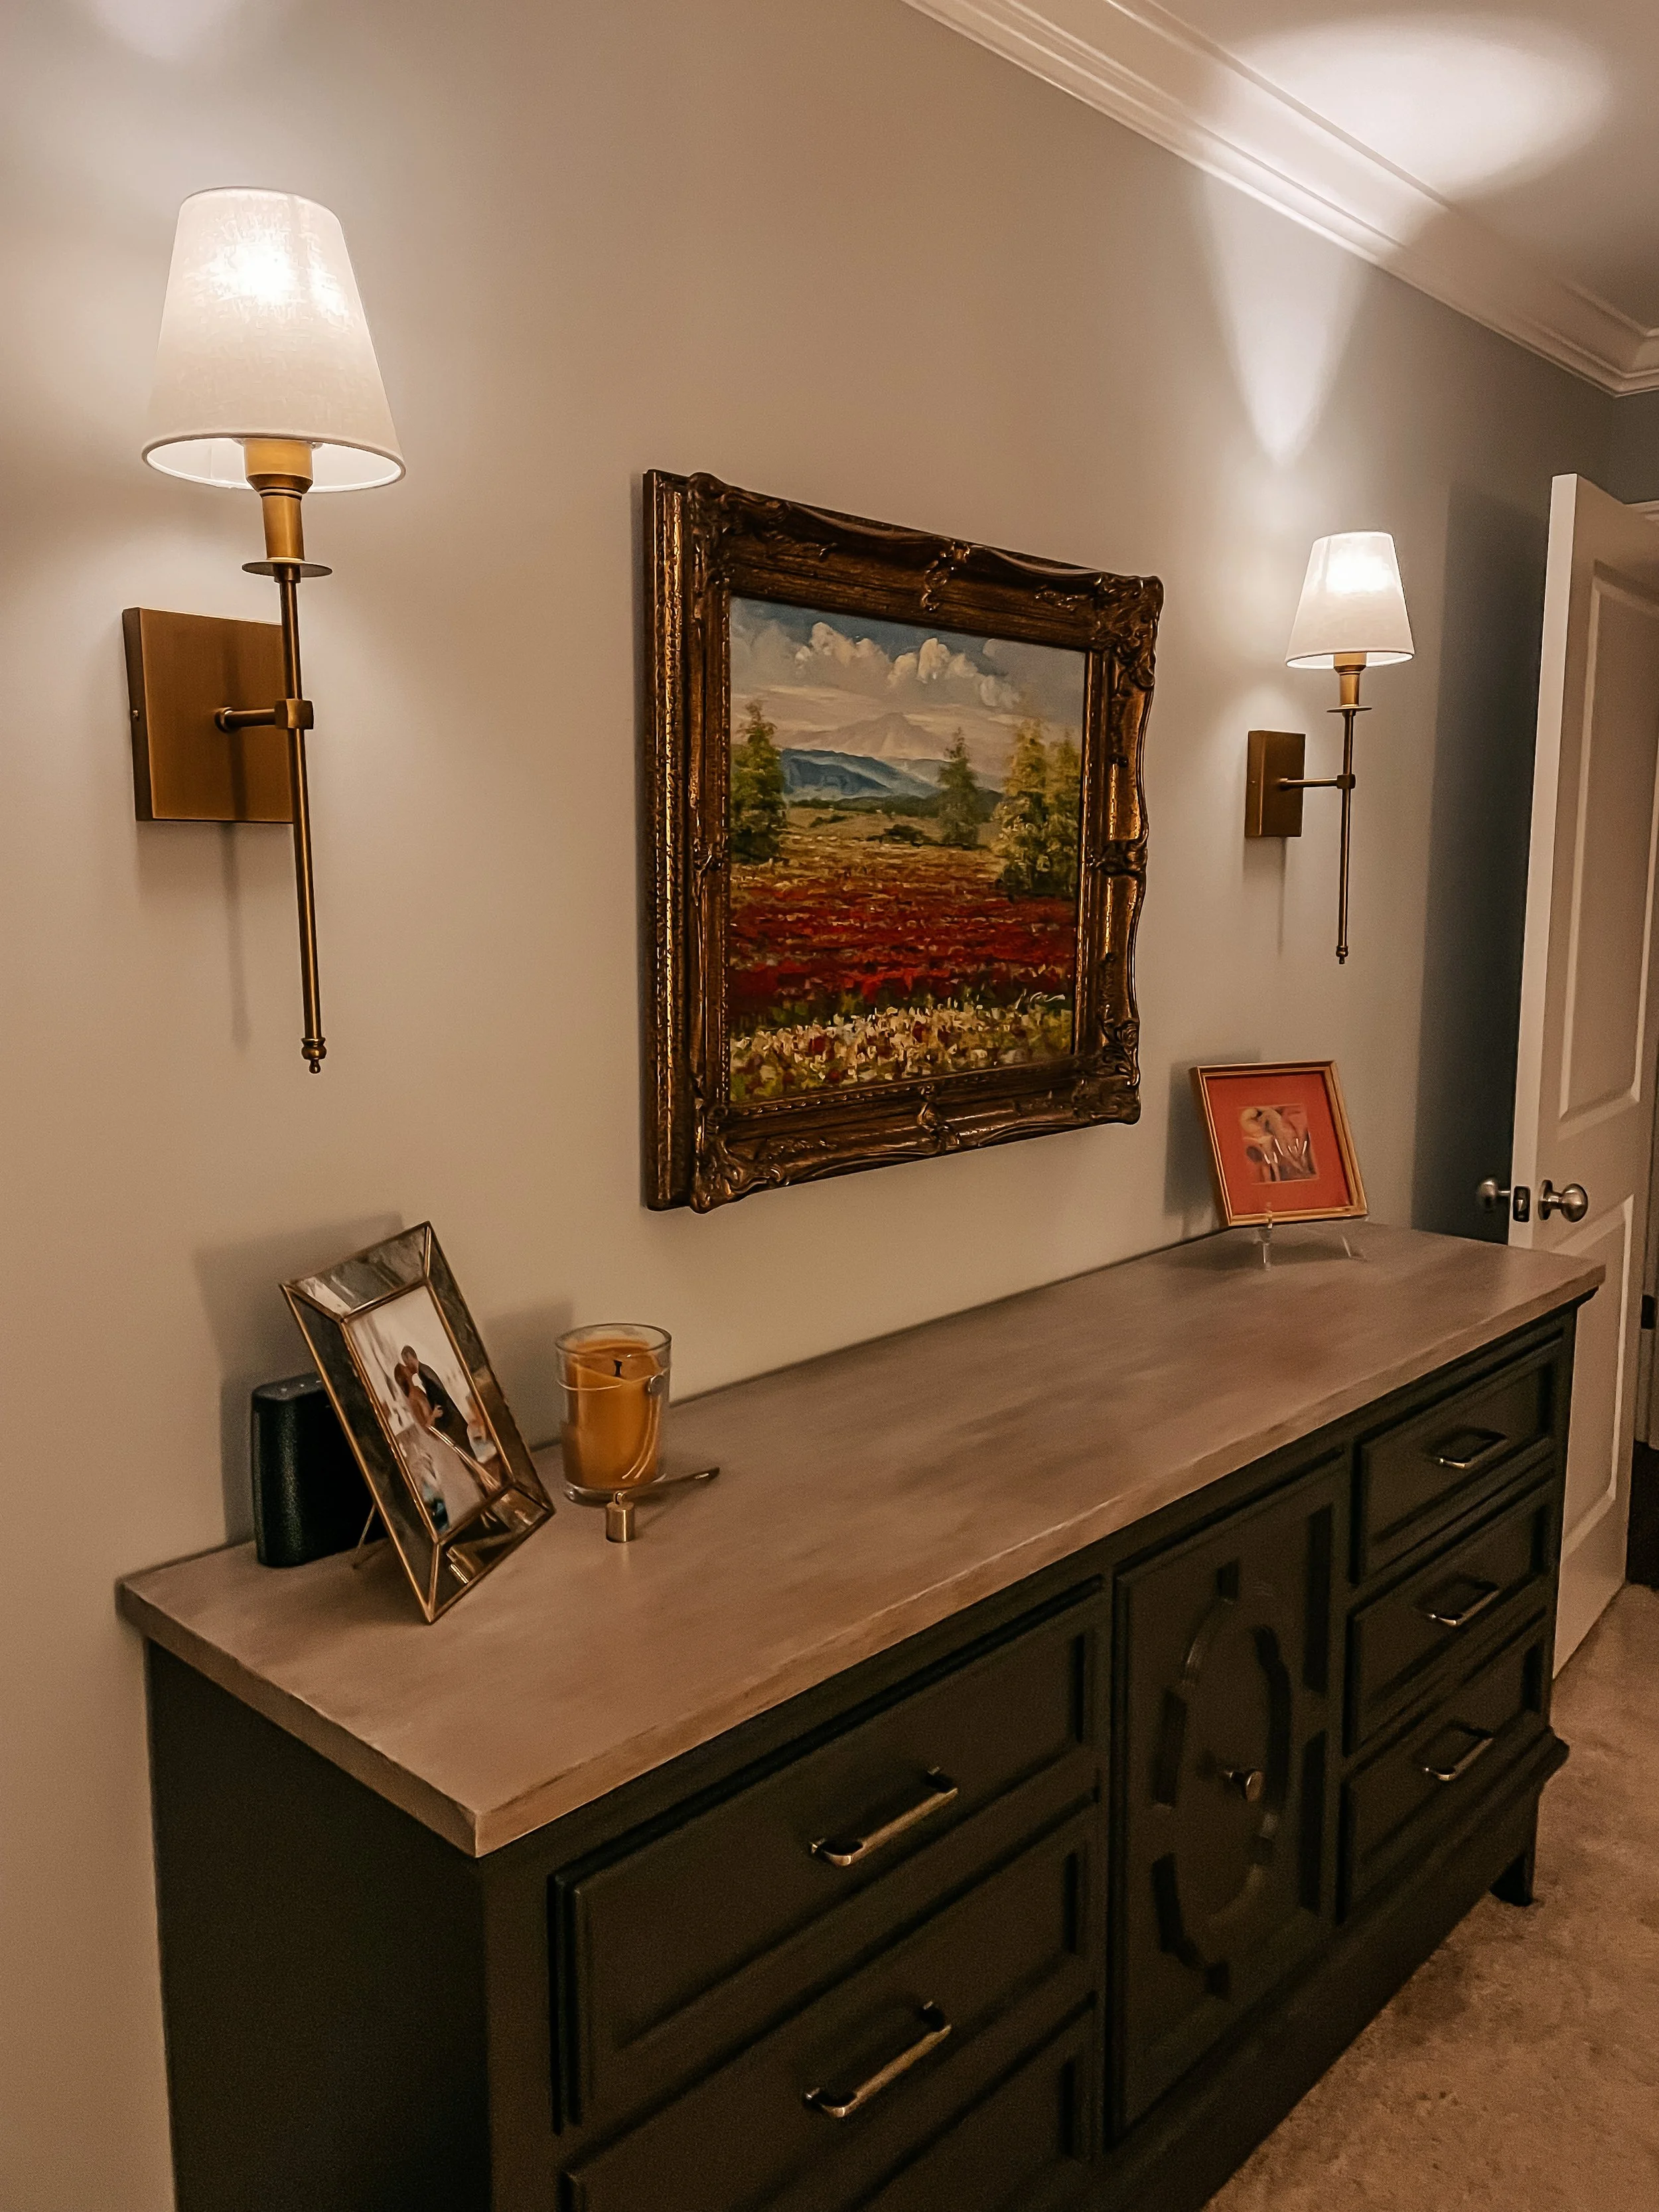
Our bedroom wall looks SO much more balanced (scroll for the before photo). I’m going to share the step-by-step!
How to Install Sconces Without Hardwiring
George and I felt drawn to the modern classic sconce style and felt like the brass color matched the painting that hangs above our dresser (the painting was a gift from my parents!). A few notes…
We shopped budget friendly items. I searched for a pair of sconces that wouldn’t break the bank and finally found a good option!
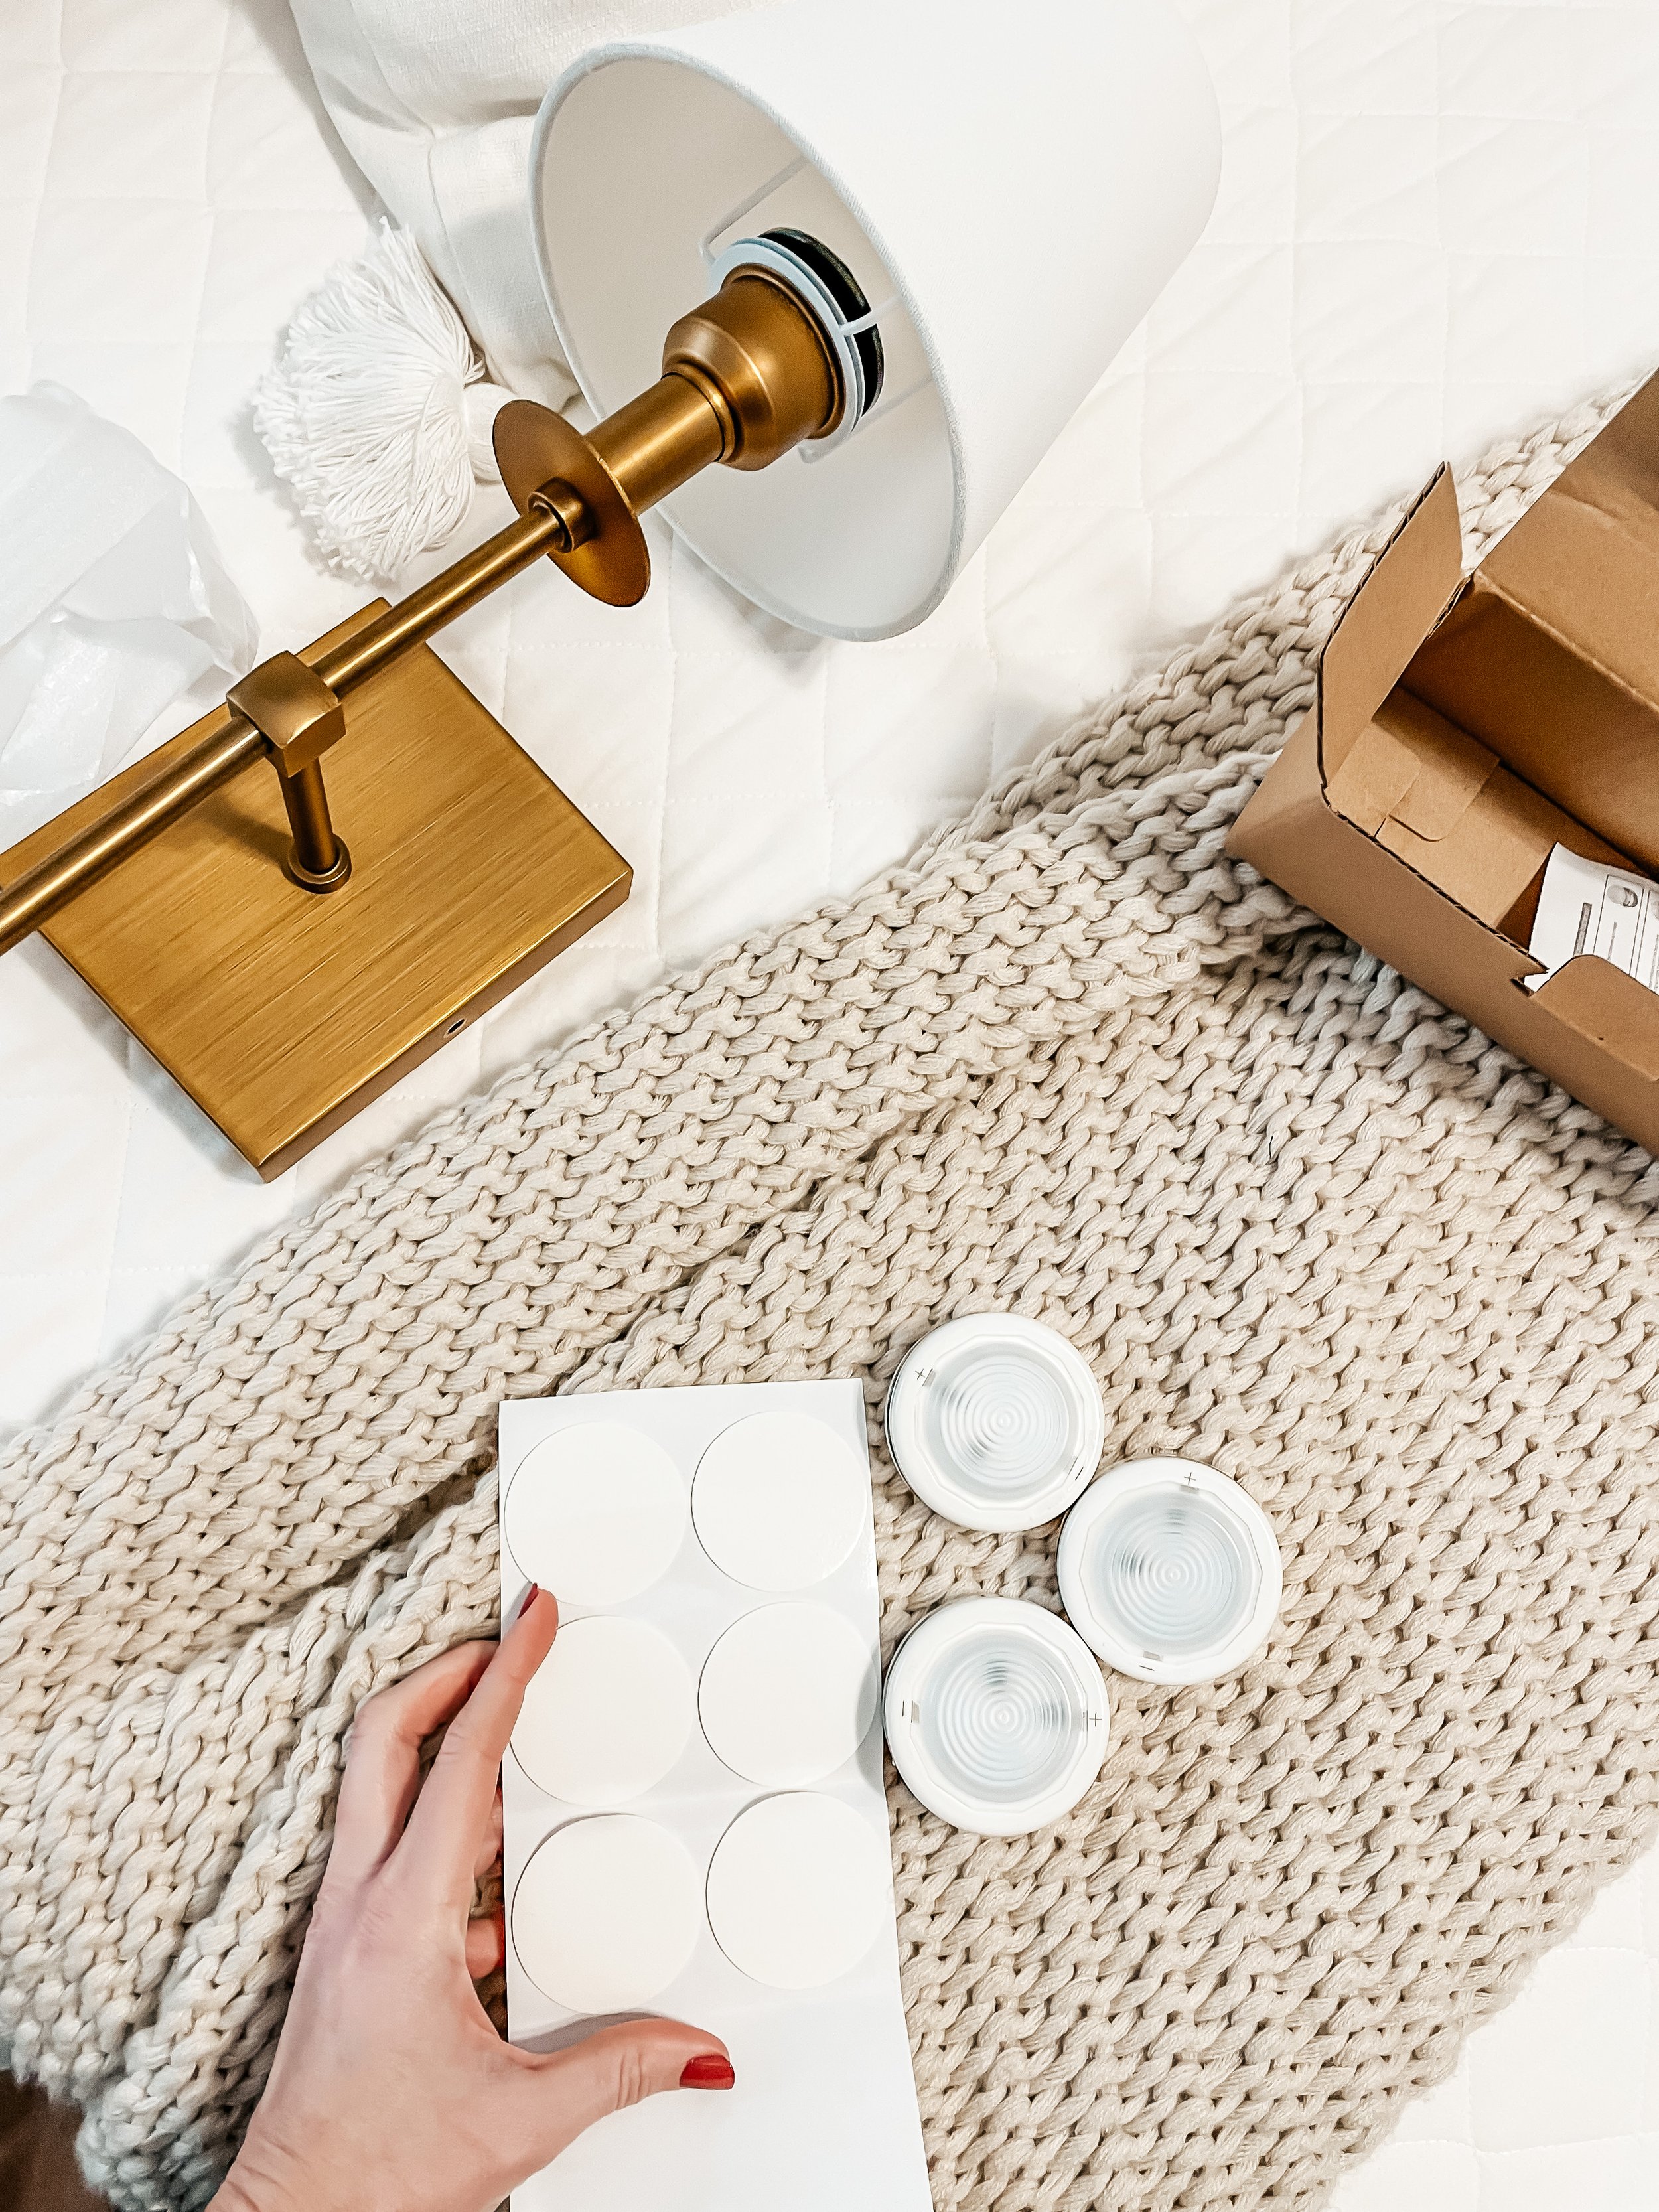
Re-chargeable light bulbs were considered instead of puck lights; however, we didn’t want the top of the bulb peeking out of the top of the sconce shade.
Measure multiple times.
One person could definitely complete this project, but it’s easier with two.
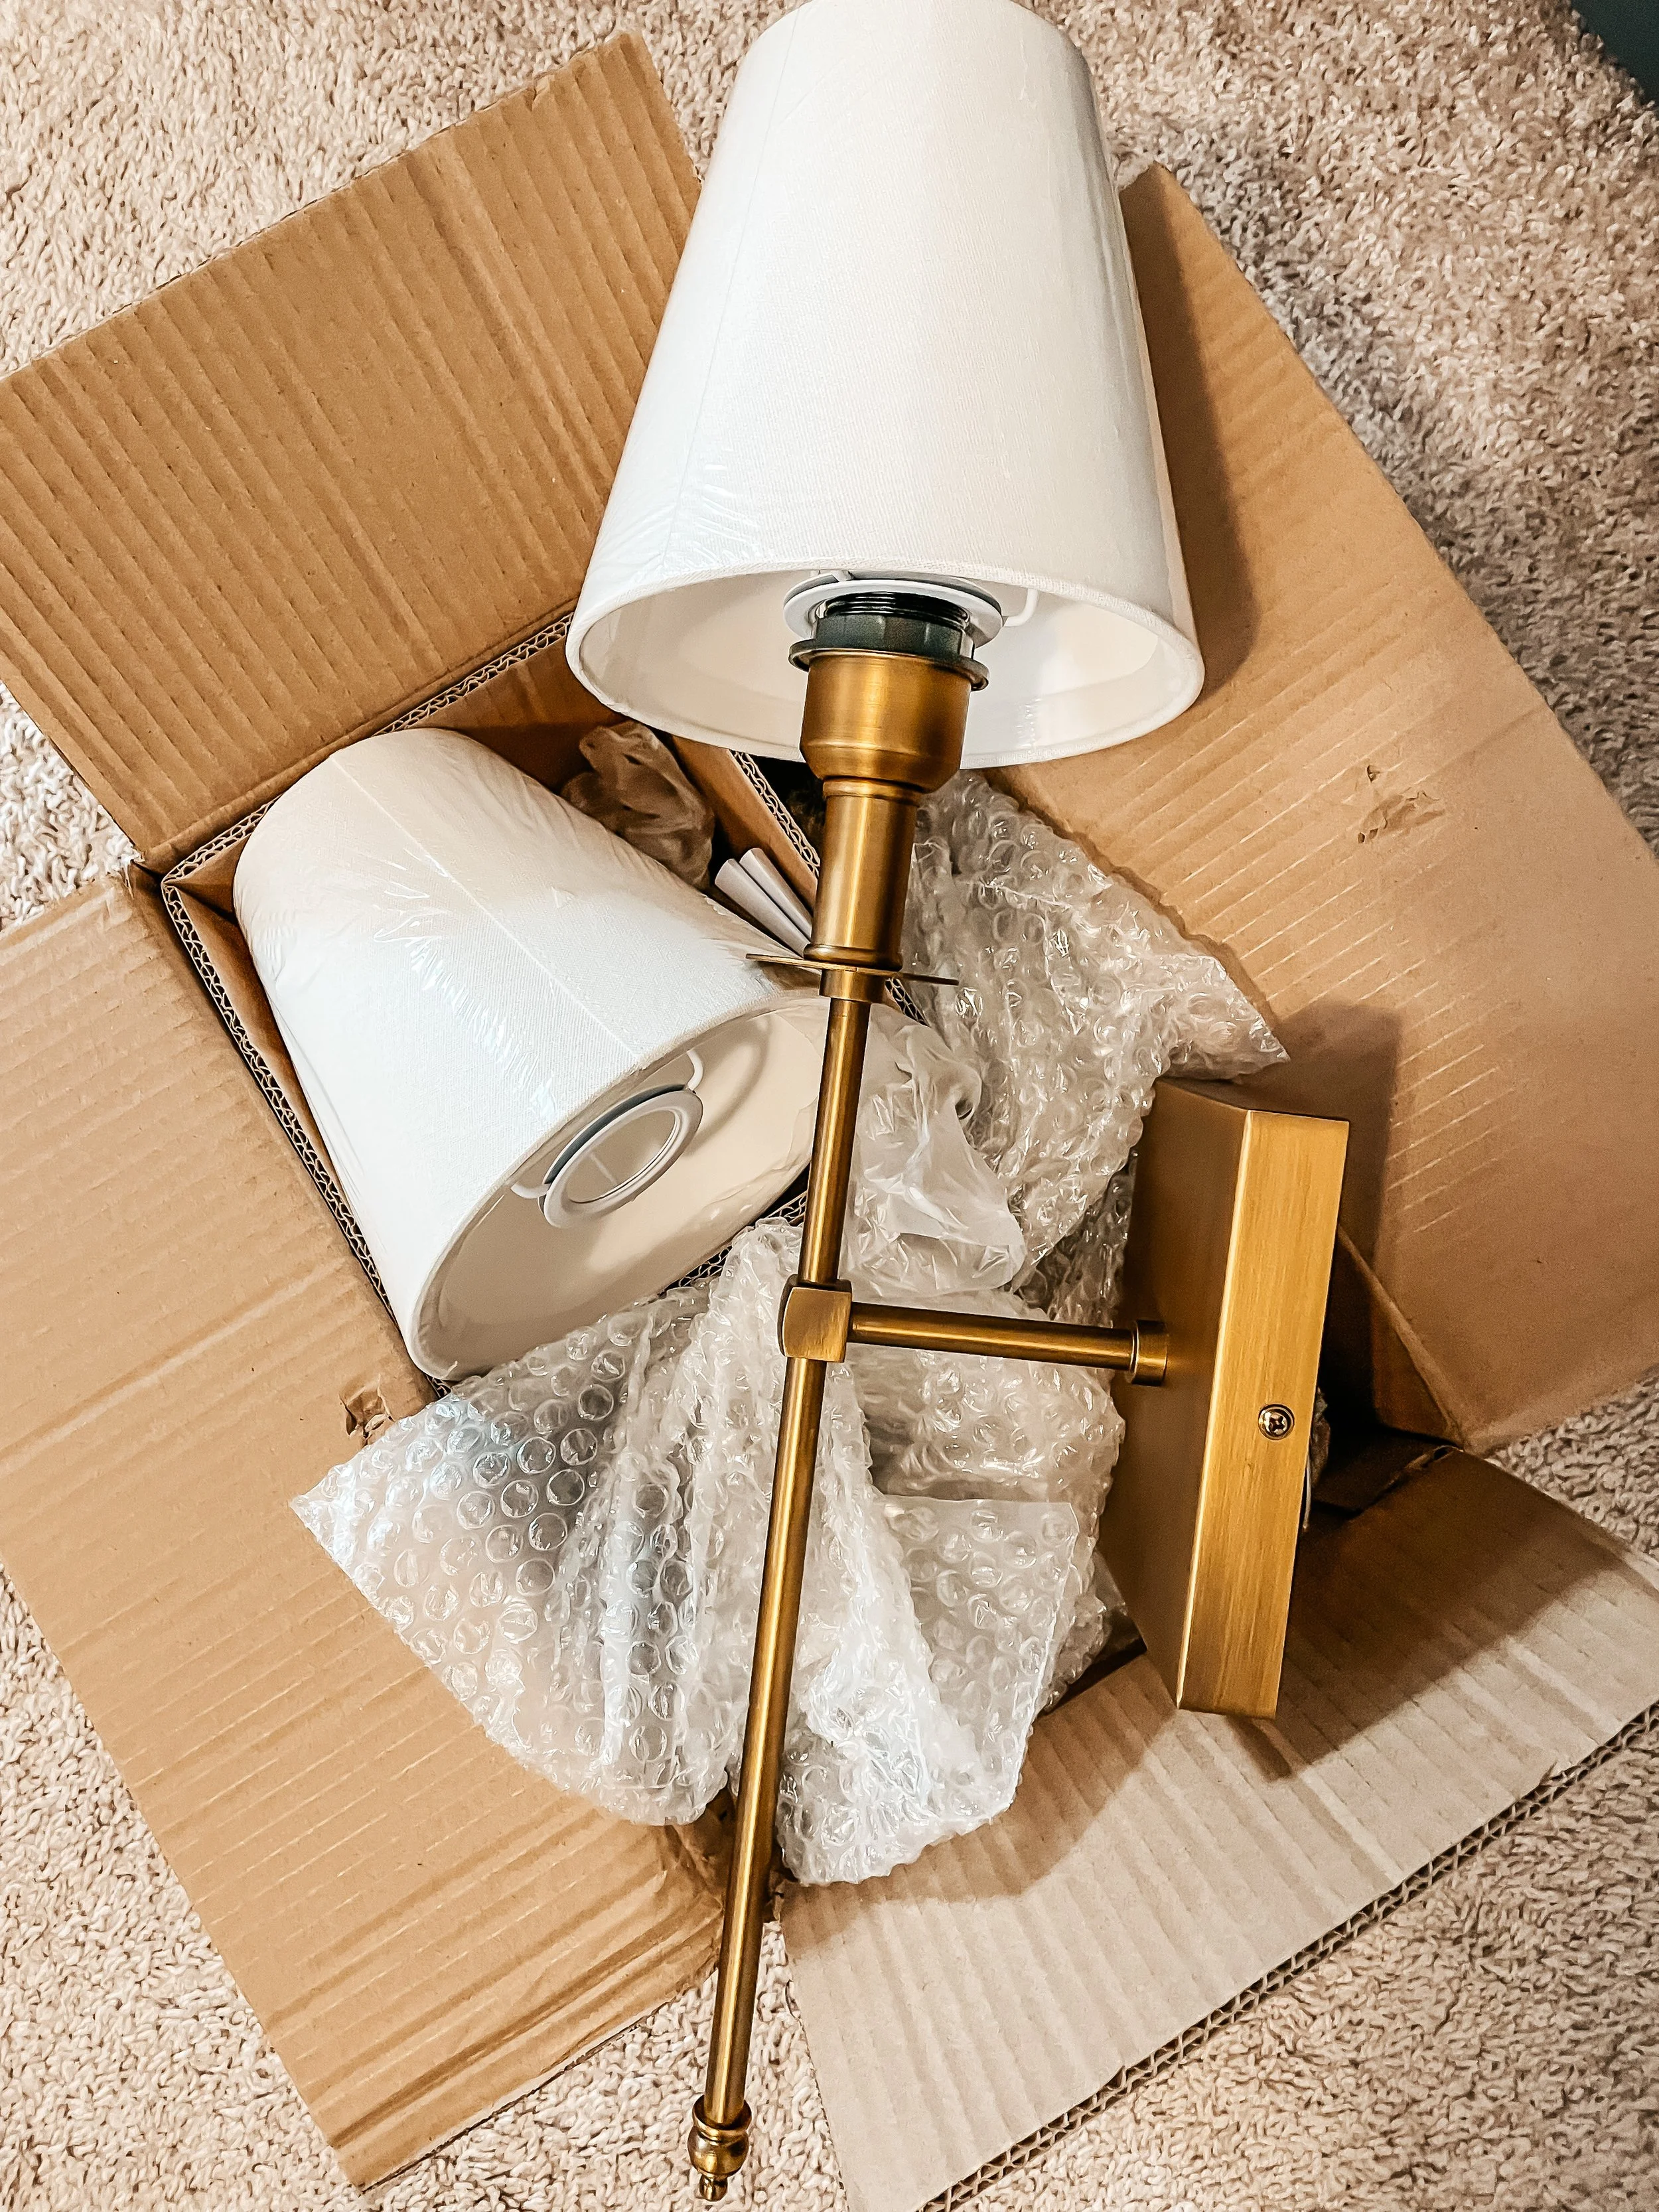
These are the exact products we used.
Wayfair Brass Sconces (these came as a pair!)
Puck Lights with Remote (pack of 6)
Tape Measurer
Phillips Head Screwdriver
Pencil
Pack of AAA batteries (you’ll need 3 AAA batteries per puck light)
how to install
Make your measurements. Decide where you want to hang your sconces by eyeballing different placements. Once you decide on a spot, measure & mark with a pencil! We measured to the middle of the back plate - vertically from the dresser and horizontally from the painting - to make sure the measurements matched on both sides.
Assemble the sconces. Ours came in three pieces (the body, the tail and the shade).
These sconces come with a silver back plate attached to the back of the light fixture. We removed the hardwiring (saving for later just in case!) and screwed the plate directly into the drywall to mount it. This is where your second person can come in handy to serve as an extra pair of hands.
Attach the sconces to the silver plate (which is now mounted on the wall) by. aligning the holes on the side of each object.
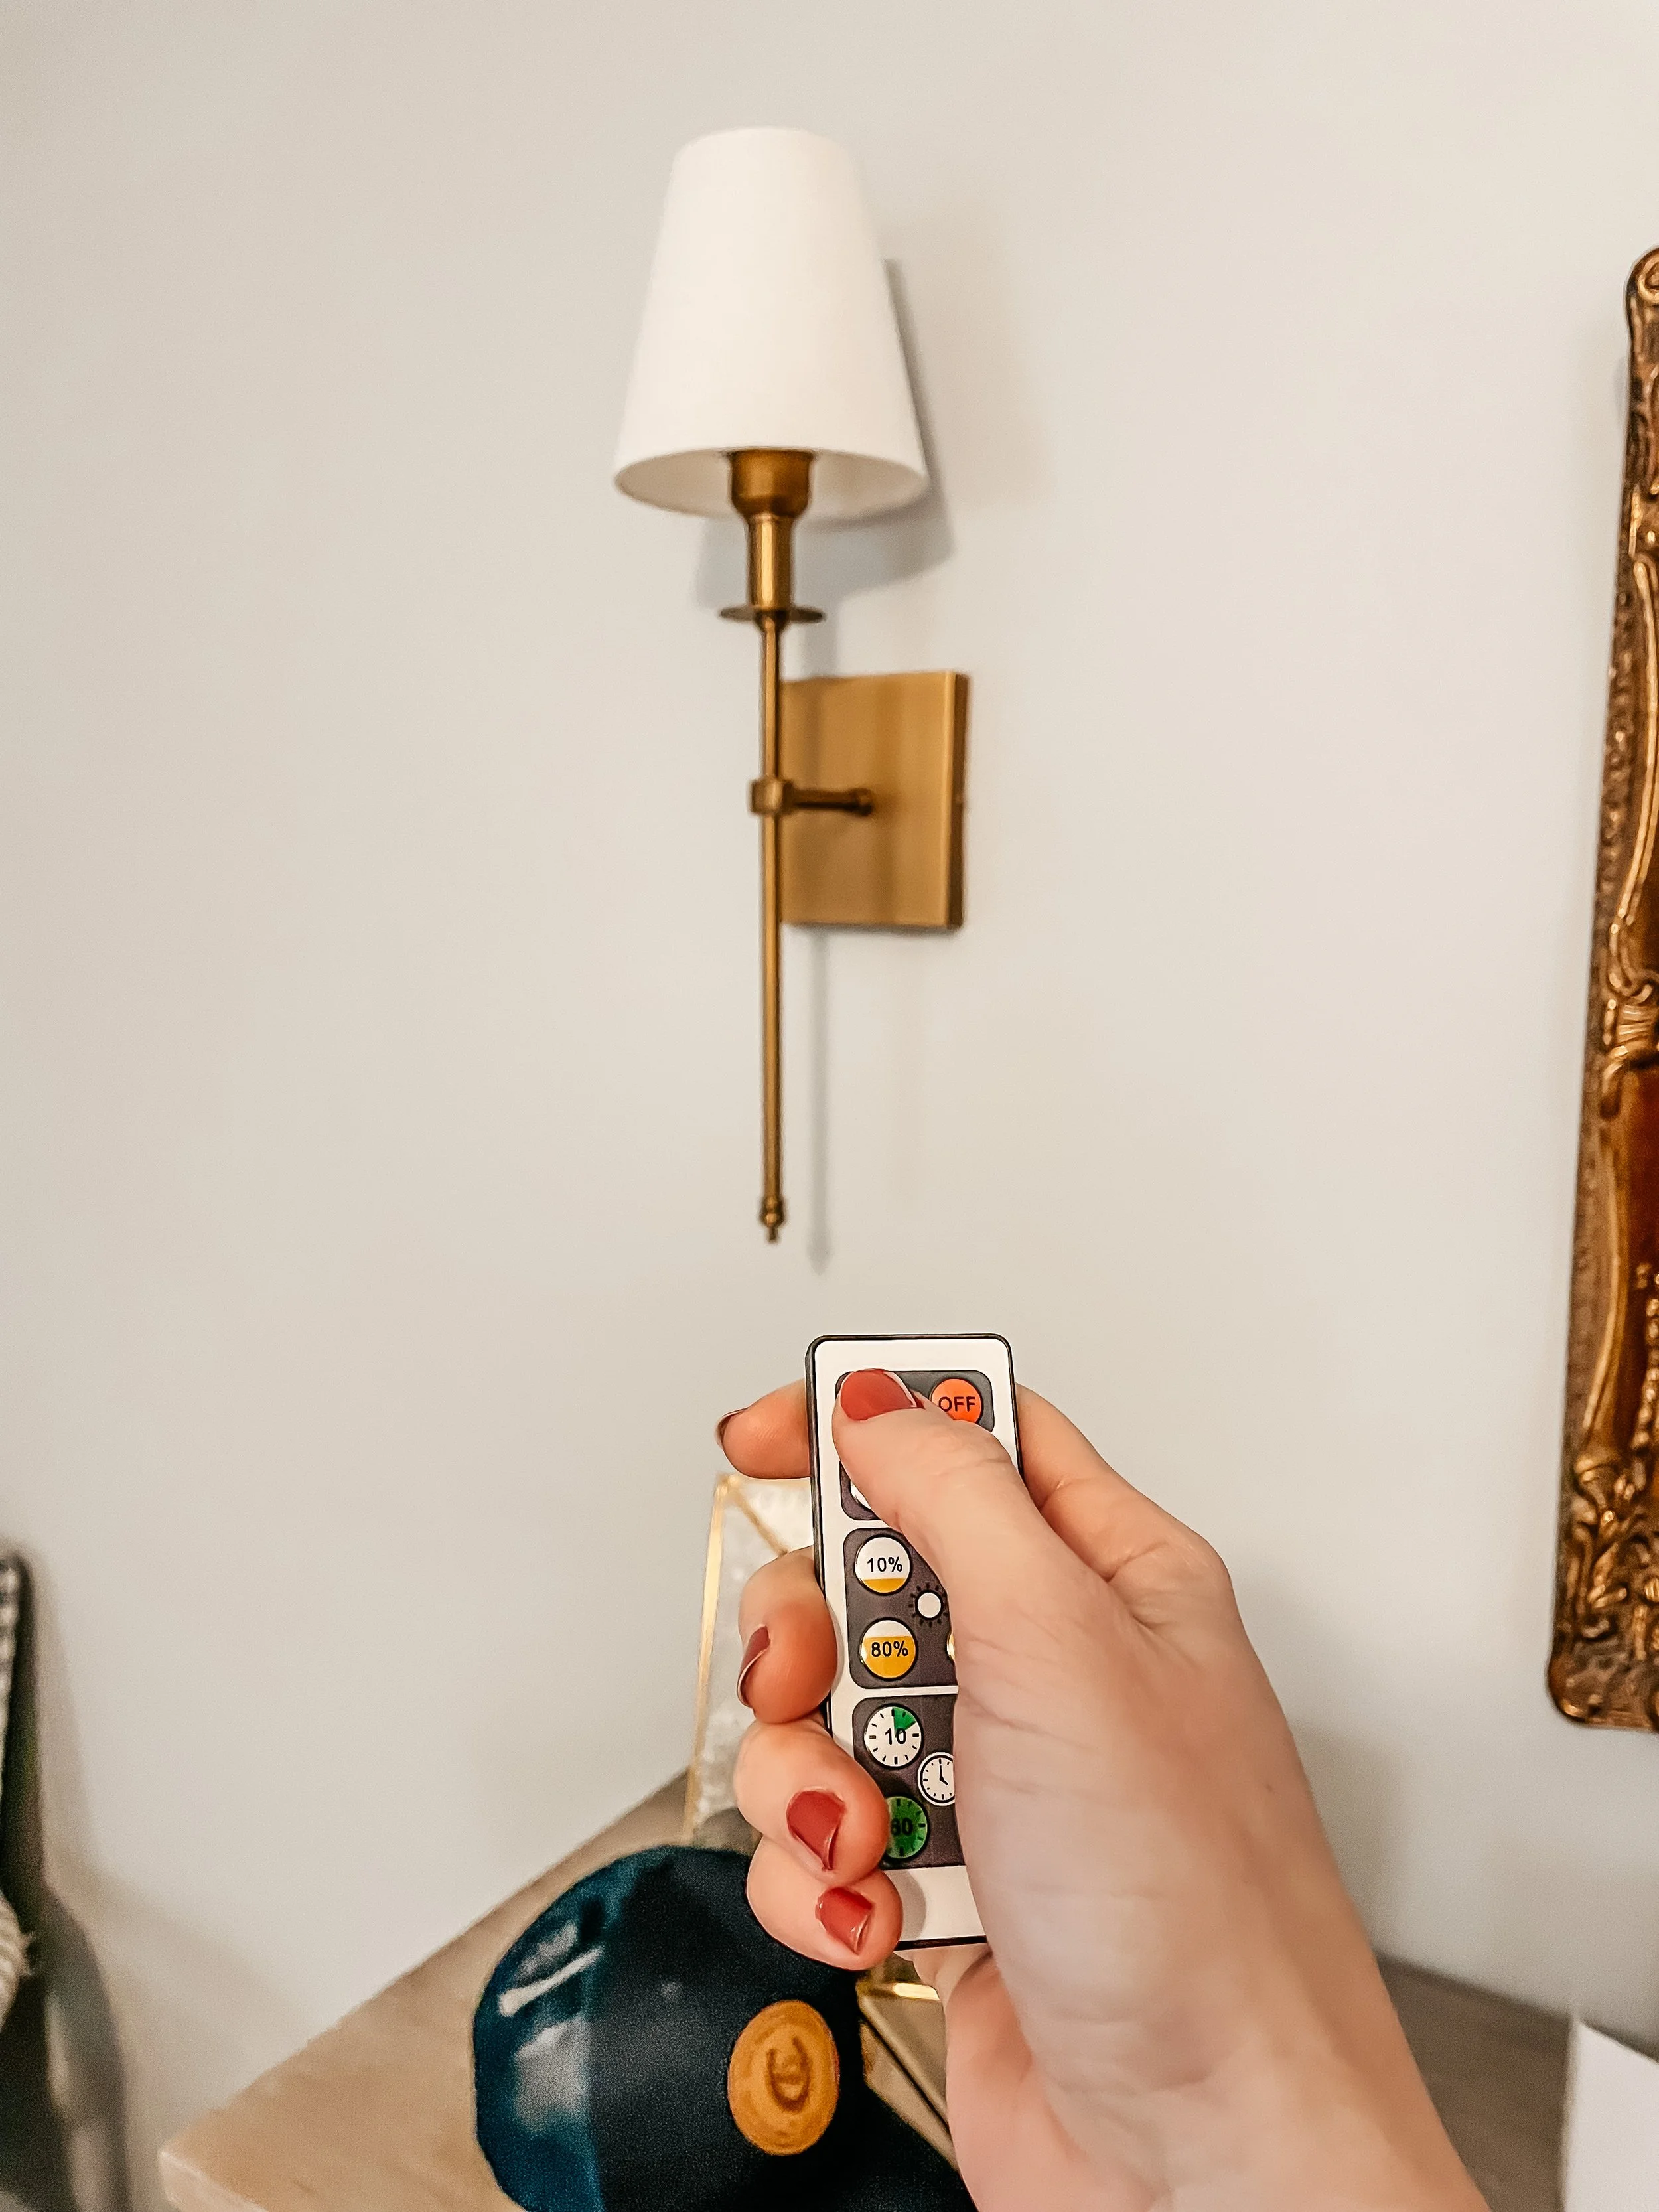
Assemble the puck lights and test with the remote (included) to make sure they work. Attach one of the puck light stickers to the underside of the puck and add to the sconce. Place it on top of the area where you would screw in the lightbulb.
Repeat.
Let there be light!
This project was fairly easy to complete for us non-handy folks. The sconces add a soft glow to our bedroom in the evenings and a lovely brass shine during the day. If you have any questions, please send me a DM!
Suggested Blog Posts: